Kasha, the beloved Eastern European comfort food brings warmth and nostalgia to any table. This versatile grain dish made from toasted buckwheat groats has been satisfying hungry souls for centuries with its nutty flavor and hearty texture.
While cooking kasha might seem straightforward many home chefs struggle to achieve that perfect balance between fluffy and firm. Whether served as a standalone dish or paired with mushrooms onions and herbs kasha’s preparation requires attention to detail and proper technique. From selecting the right type of buckwheat to mastering the water-to-grain ratio these fundamental cooking methods will transform anyone into a kasha connoisseur.
General Cooking Techniques For Kasha
Kasha refers to toasted buckwheat groats, a staple grain dish in Eastern European cuisine. The term encompasses both the cooking method and the finished dish, featuring a distinctive nutty flavor profile.
Traditional Buckwheat Kasha
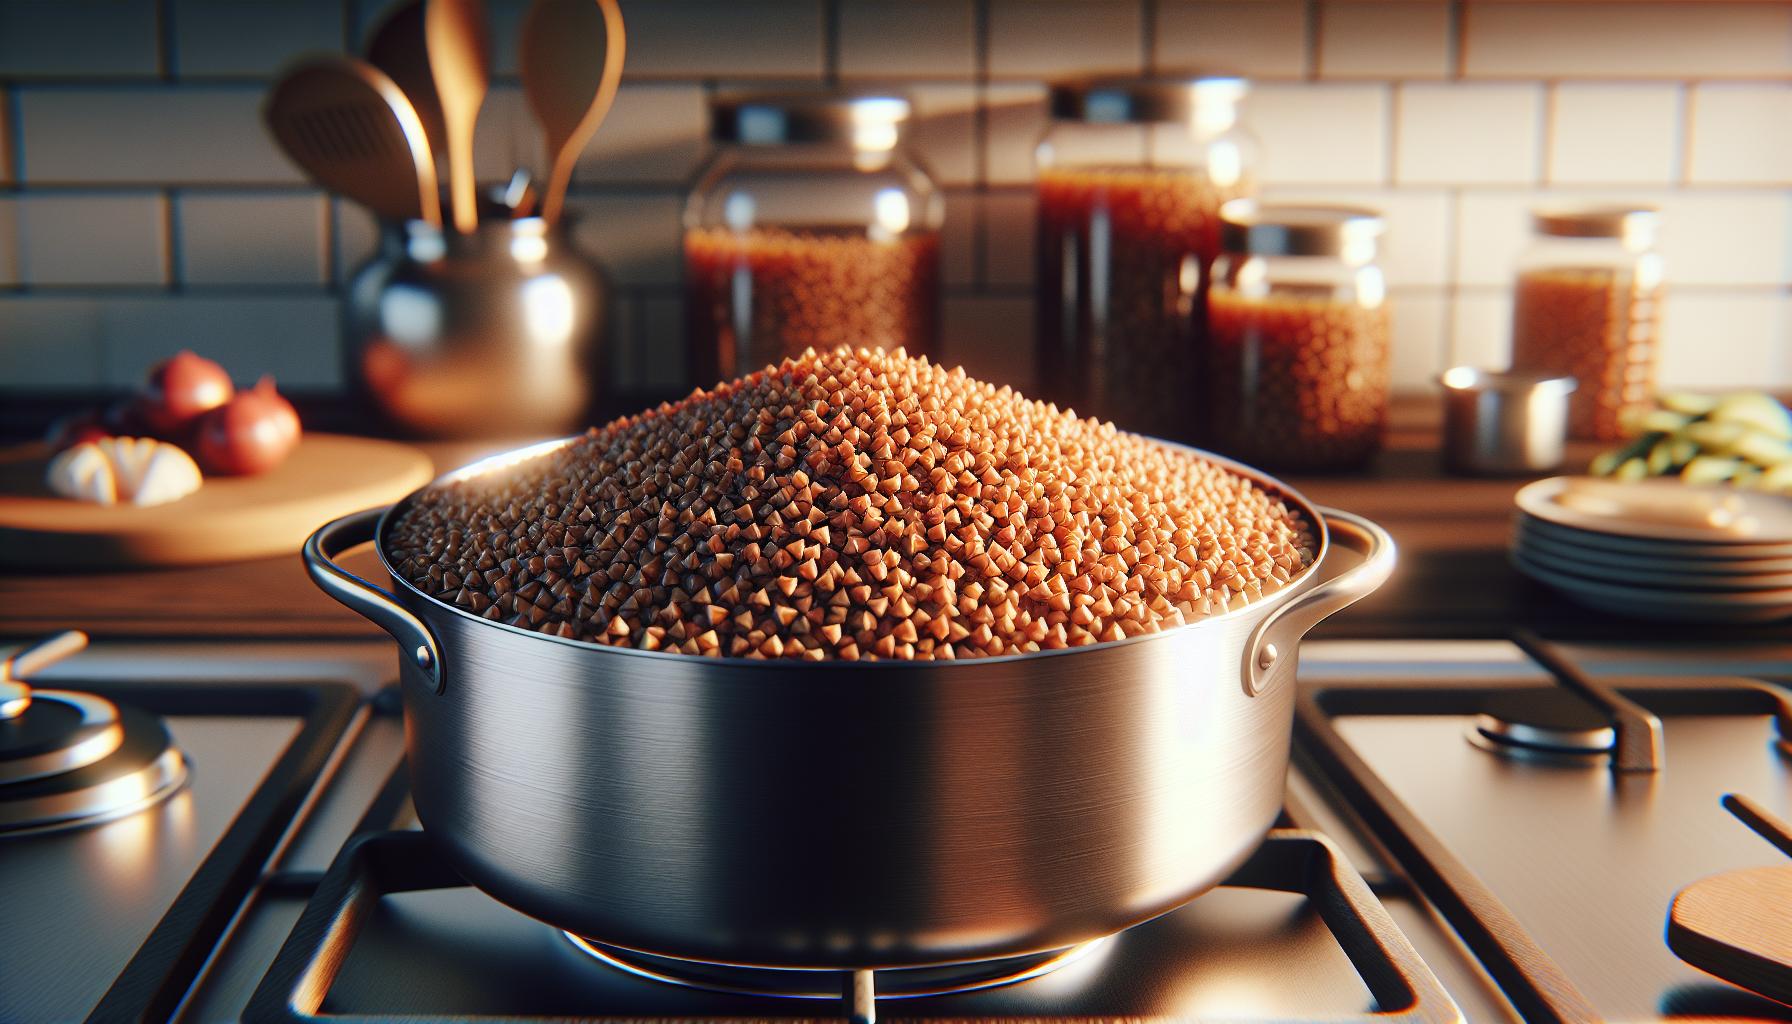
Buckwheat kasha originates from roasted whole buckwheat groats, creating a rich brown color and intensified nutty taste. Raw buckwheat groats transform into kasha through a specific toasting process at high temperatures. The groats come in three main granulations:
- Whole groats produce a firm texture with distinct grains
- Medium-cut groats offer a balanced consistency for side dishes
- Fine-cut groats create a smooth, porridge-like consistency
Traditional kasha preparation involves coating the groats with egg before toasting to achieve separate, fluffy grains. The toasted groats develop a deeper flavor profile compared to their raw counterparts.
Other Grain Options for Kasha
Several grain varieties serve as alternatives to traditional buckwheat kasha:
- Pearl barley creates a chewy texture with mild flavor
- Millet produces light yellow grains with subtle sweetness
- Oat groats offer a hearty texture similar to steel-cut oats
- Cracked wheat delivers a nutty taste with firm bite
| Grain Type | Water Ratio | Cooking Time |
|---|---|---|
| Pearl Barley | 3:1 | 45 minutes |
| Millet | 2:1 | 20 minutes |
| Oat Groats | 3:1 | 40 minutes |
| Cracked Wheat | 2:1 | 25 minutes |
Essential Equipment for Cooking Kasha

Proper equipment selection ensures consistent kasha preparation results. The right tools enhance grain texture control while simplifying the cooking process.
Choosing the Right Pot
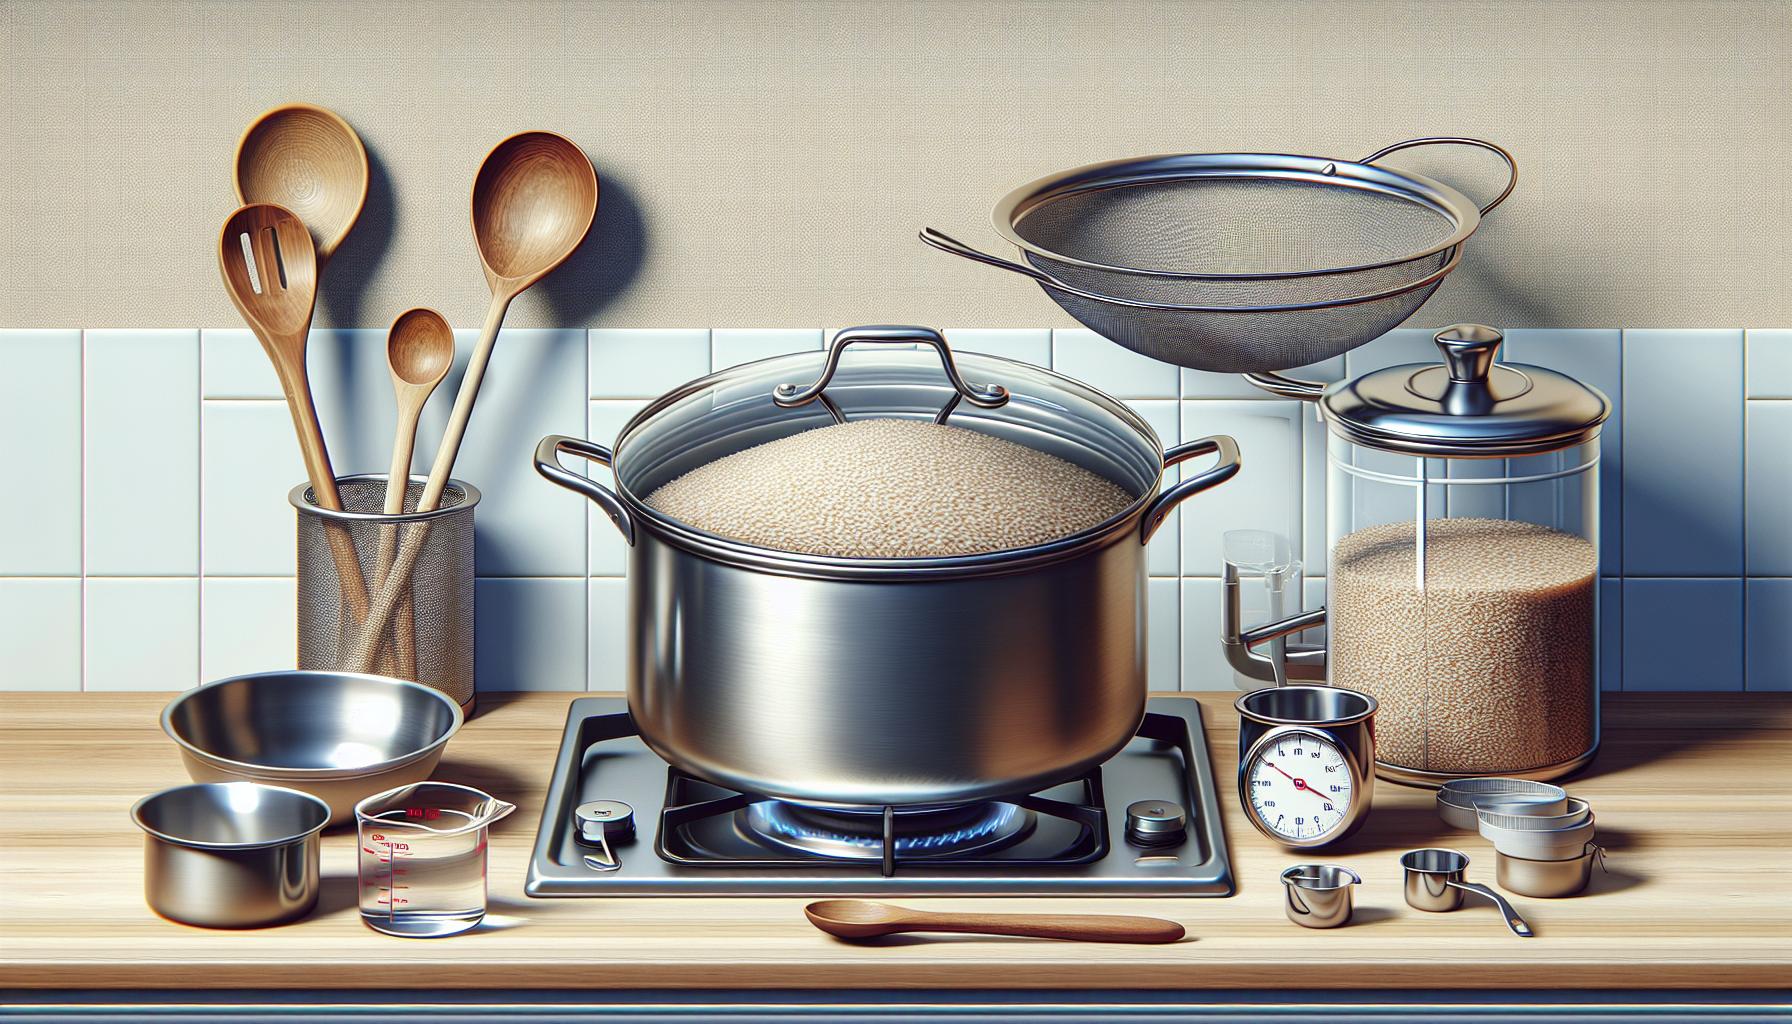
A heavy-bottomed saucepan with a tight-fitting lid creates optimal cooking conditions for kasha. The ideal pot measures 2-3 quarts in capacity for cooking 1 cup of dry groats. Cast iron or stainless steel pots distribute heat evenly across the bottom surface, preventing hot spots that cause uneven cooking. A clear glass lid enables monitoring of the cooking process without releasing steam.
- Wooden spoon or paddle for stirring without breaking the grains
- Dry measuring cups for accurate grain portions
- Liquid measuring cup for precise water ratios
- Fine-mesh strainer for rinsing groats before cooking
- Kitchen timer to track cooking duration
- Heat-resistant spatula for fluffing finished kasha
- Small bowl for egg coating preparation
- Fork for separating groats during the egg coating process
| Tool Type | Primary Function |
|---|---|
| Heavy-bottomed pot | Even heat distribution |
| Glass lid | Steam retention & visibility |
| Fine-mesh strainer | Grain cleaning |
| Measuring cups | Precise portions |
Basic Stovetop Cooking Method

The stovetop method produces perfectly cooked kasha with distinct, separate grains. This technique requires attention to timing and temperature control for optimal results.
Toasting the Groats
Heat a dry heavy-bottomed saucepan over medium-high heat for 2 minutes. Add the egg-coated buckwheat groats to the pan in a single layer. Toast the groats for 3-4 minutes, stirring occasionally to prevent burning. The groats release a nutty aroma when properly toasted, turning a deeper shade of brown. Remove the pan from heat once 90% of the groats appear dry with minimal sticking. A properly toasted batch displays individual grains with a matte finish.
Liquid-to-Grain Ratios
The correct liquid ratio creates perfectly tender kasha with ideal texture. Whole groats require 2 cups of liquid per 1 cup of grain. Medium-cut groats need 1.75 cups of liquid per cup. Fine-cut groats use 1.5 cups of liquid for each cup of grain.
| Groat Type | Liquid Ratio (per cup) | Cooking Time |
|---|---|---|
| Whole | 2 cups | 25-30 min |
| Medium-cut | 1.75 cups | 20-25 min |
| Fine-cut | 1.5 cups | 15-20 min |
Stock or broth adds extra flavor compared to water. Hot liquid absorbs more efficiently than cold liquid.
Alternative Cooking Techniques

Alternative cooking methods for kasha expand beyond traditional stovetop preparation, offering convenient options for different kitchen setups. These techniques maintain kasha’s characteristic nutty flavor while providing unique textures.
Oven-Baked Kasha
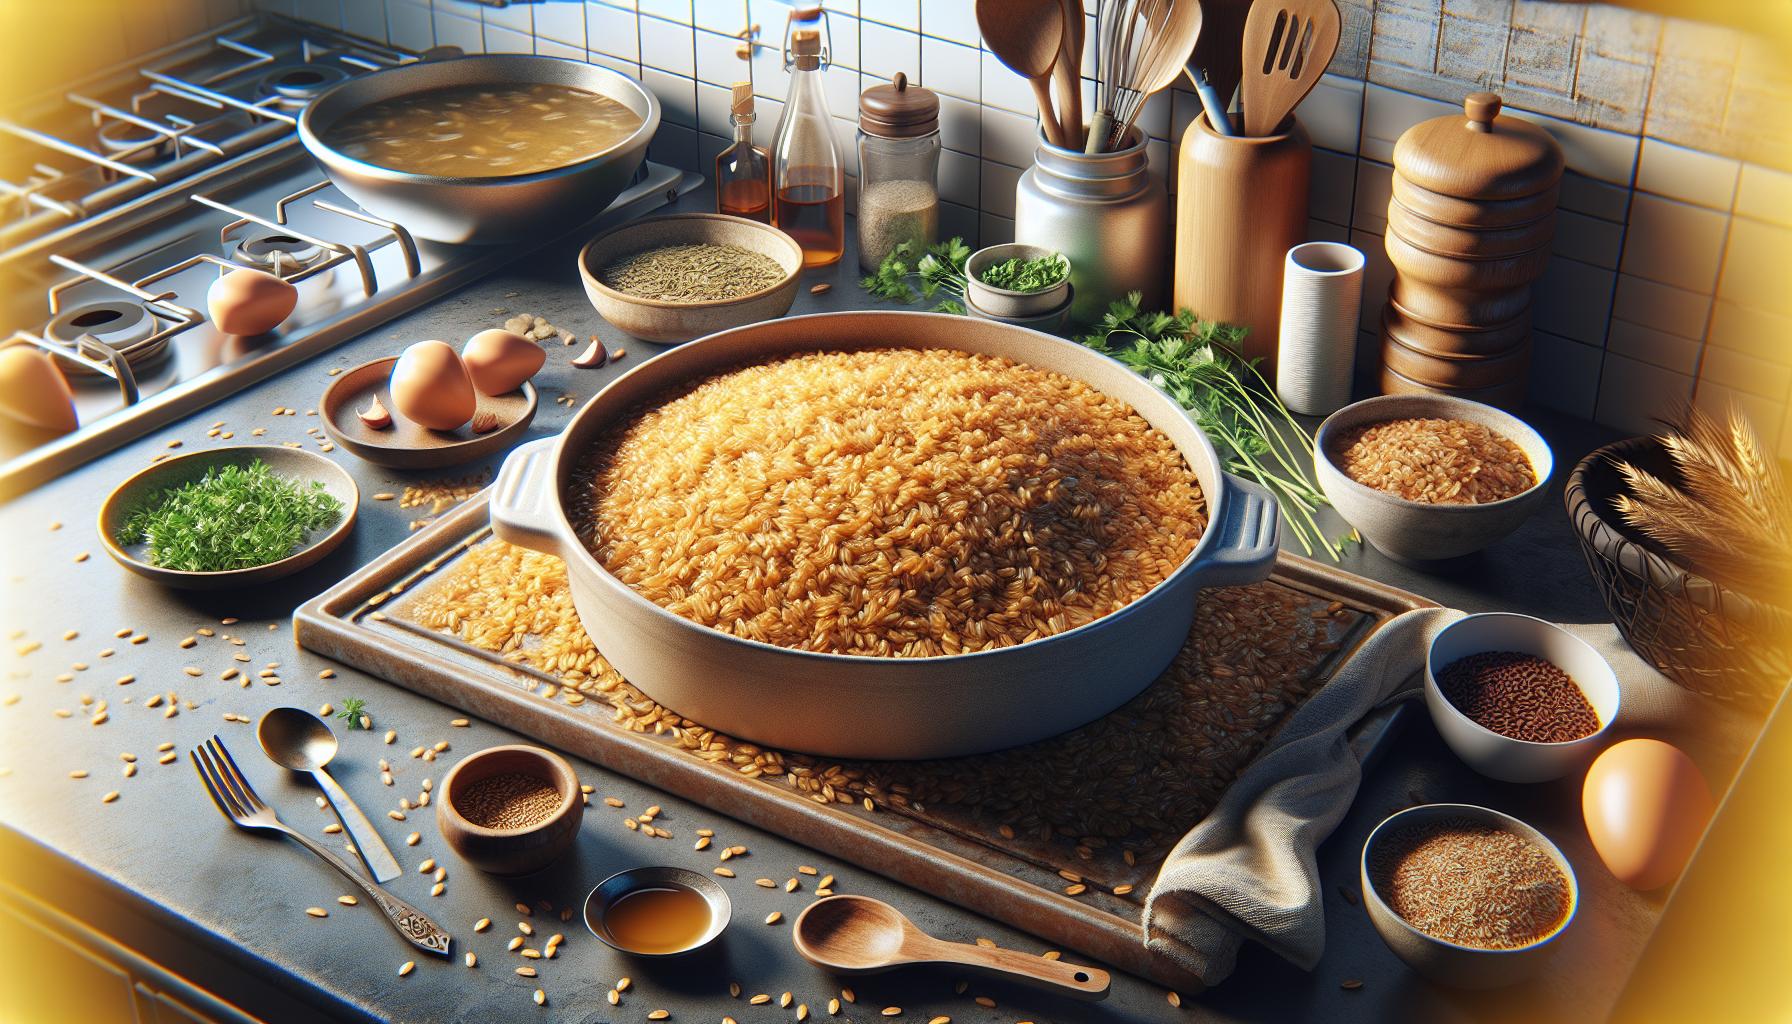
Oven-baked kasha creates a uniform texture with minimal hands-on attention. Combine 1 cup of egg-coated buckwheat groats with 2 cups of hot broth in an oven-safe dish with a tight-fitting lid. Place the covered dish in a preheated 350°F oven for 25 minutes. The indirect heat distribution produces evenly cooked grains with a light, fluffy texture. Remove from the oven, let rest for 5 minutes, then fluff with a fork to separate the grains.
Pressure Cooker Method
Pressure cooking reduces kasha preparation time by 60%. Add 1 cup of toasted buckwheat groats to the pressure cooker with 1.5 cups of liquid. Lock the lid, set to high pressure, cook for 3 minutes. Let pressure release naturally for 10 minutes before opening. This method creates tender grains while preserving their distinct shape. The sealed environment intensifies the nutty flavor profile. Modern electric pressure cookers include preset grain settings that automatically adjust cooking time for consistent results.
Tips for Perfect Kasha Texture
Achieving optimal kasha texture requires attention to specific cooking variables. The grain’s final consistency depends on proper timing, temperature control, and ingredient ratios.
Common Cooking Mistakes
- Adding cold liquid causes uneven absorption resulting in mushy grains
- Stirring kasha too frequently breaks down the delicate groats
- Skipping the egg coating step leads to clumpy texture
- Using incorrect liquid ratios creates either soupy or dry results
- Opening the lid during cooking releases essential steam
- Cooking at high heat produces burnt bottom grains
- Forgetting to toast the groats reduces the nutty flavor
- Overcrowding the pan prevents proper grain separation
Storage and Reheating
Cooked kasha stays fresh in an airtight container:
- Refrigerator storage lasts 5 days
- Freezer storage extends to 3 months
- Room temperature storage limits to 2 hours
Reheating methods maintain texture:
- Microwave: Add 1 tablespoon water per cup
- Stovetop: Heat with 2 tablespoons liquid
- Oven: Cover dish at 350°F for 10 minutes
- Cool completely before storing
- Separate into portion-sized containers
- Label containers with date
- Remove air before sealing
Popular Kasha Serving Suggestions
Kasha’s versatility makes it an excellent base for numerous dishes across sweet and savory flavor profiles. Its nutty undertones complement both main courses and breakfast preparations.
Sweet and Savory Combinations
Sweet kasha combinations include maple syrup drizzled over hot kasha topped with fresh berries, sliced almonds or chopped pecans. Honey butter melted into warm kasha creates a comforting breakfast bowl enhanced with cinnamon, diced apples or dried cranberries. Savory variations feature sautéed mushrooms with caramelized onions mixed into kasha, creating an earthy side dish. Roasted vegetables such as butternut squash or Brussels sprouts add color and texture when combined with kasha. A protein-rich meal emerges from mixing kasha with black beans, corn salsa or grilled chicken strips.
Traditional Pairings
Classic Eastern European pairings match kasha with caramelized onions, mushrooms or bow-tie pasta to create kasha varnishkes. Russian cuisine pairs kasha with beef stroganoff or serves it as a bed for meat stews. Polish preparations incorporate kasha into stuffed cabbage rolls or combine it with kielbasa sausage. Ukrainian traditions feature kasha mixed with rendered chicken fat, known as schmaltz, topped with crispy chicken skin. Lithuanian recipes incorporate kasha into milk-based soups or serve it alongside pickled herring. Each regional variation highlights kasha’s ability to absorb surrounding flavors while maintaining its distinct texture.
World of Culinary Possibilities
Mastering kasha preparation opens up a world of culinary possibilities for home cooks. By following proper techniques and understanding the fundamentals of cooking this versatile grain anyone can create perfectly textured kasha dishes.
Whether using traditional stovetop methods modern pressure cookers or oven-baking techniques the key lies in selecting quality ingredients maintaining proper ratios and exercising patience during the cooking process. The versatility of kasha extends beyond its preparation methods to its serving options making it an excellent addition to any cook’s repertoire.
With these techniques and tips in hand home chefs can confidently explore the rich traditions of Eastern European cuisine while creating their own unique kasha-based dishes that will satisfy both traditional and contemporary palates.


